Part 1: Ubuntu Server and Desktop Installation
Ubuntu Server ISO image download link – https://ubuntu.com/download/server
Ubuntu Desktop ISO image download link – https://ubuntu.com/download/desktop
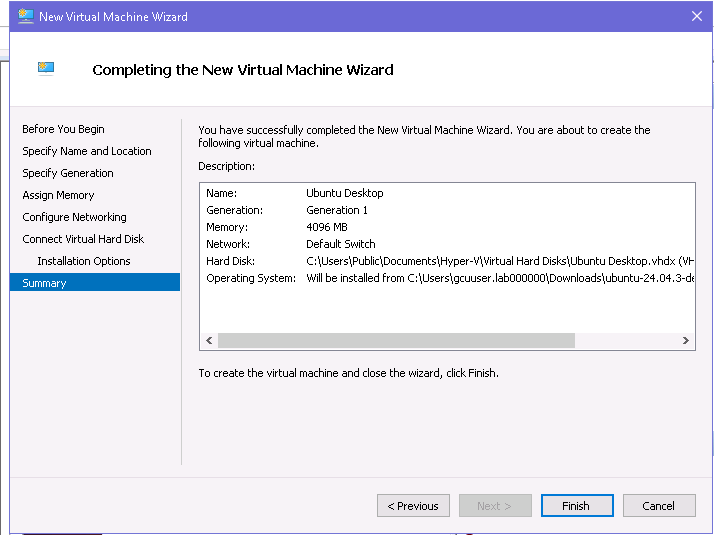
Once logged in to the Windows virtual machine via RDP, open Hyper-V Manager, select New
→ Virtual Machine, and follow the wizard by assigning a name, choosing Generation 1,
allocating startup memory (4 GB – 4096 MB), and configuring networking using the default
virtual switch. Create a new virtual hard disk with sufficient space (the 127 GB recommended),
then select Install an operating system from a bootable image file and browse to the Ubuntu ISO.
Complete the wizard and start the virtual machine.
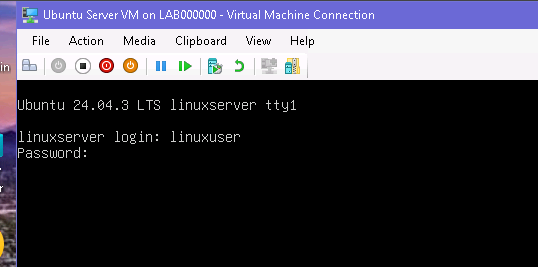
Once the VM boots, the Ubuntu installer will load. For Ubuntu Server, follow the text-based
installer by selecting language, keyboard layout, network settings, storage configuration, user
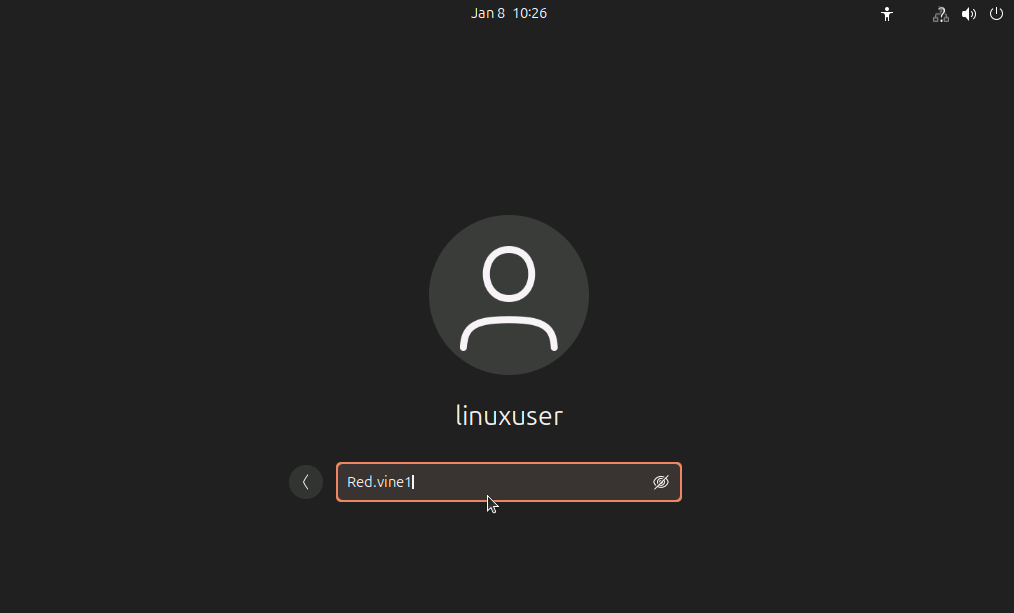
credentials (username – linuxuser, password – Red.vine1), and optional services such
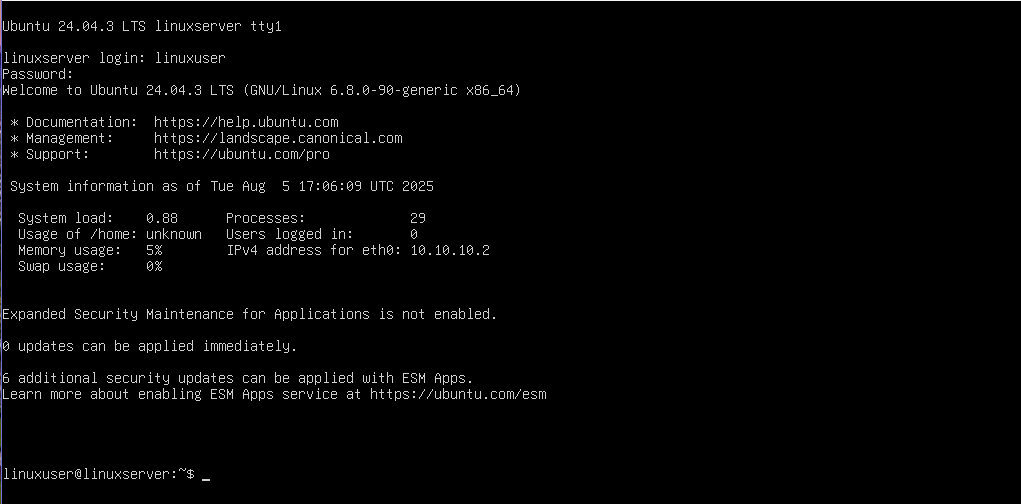
as OpenSSH, then confirm installation and reboot when prompted—type in the username and
password to log in.
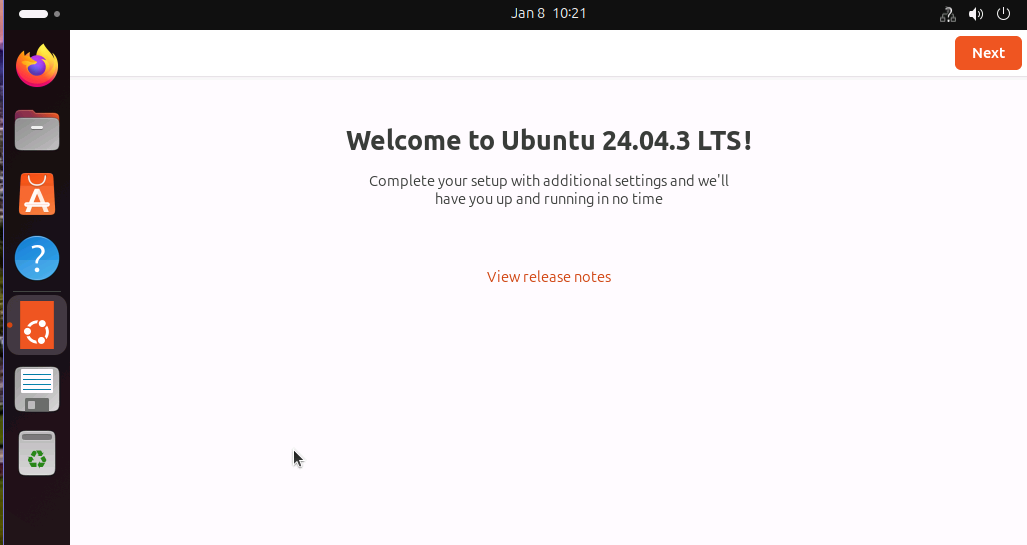
For Ubuntu Desktop, use the graphical installer to choose language, keyboard, normal
installation, disk options, timezone, and user account details (username – linuxuser, password –
Red.vine1). After installation completes and the system restarts, log in and apply system updates
to finalize the setup.
Part 2: Secure Shell (SSH)
SSH (Secure Shell) is a network protocol that allows secure remote access and management of
computers over an unsecured network. It encrypts data to protect against eavesdropping,
ensuring confidentiality and integrity during communication. SSH is commonly used by
administrators to securely log into servers, transfer files, and execute commands remotely.
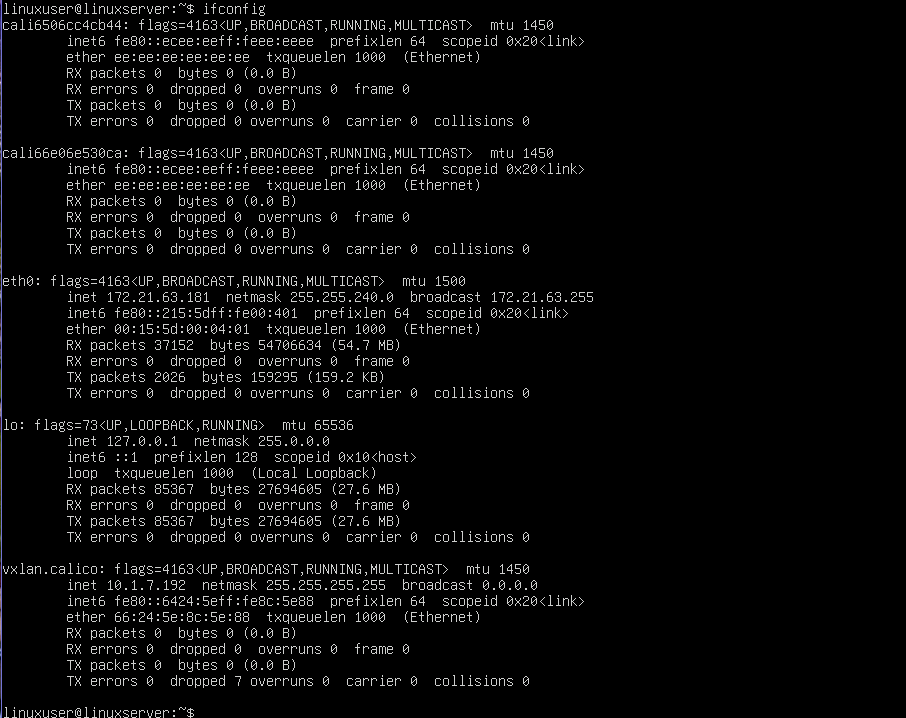
It requires the IP address of the server. In the terminal, type ifconfig to display network
information. The IP address is under the active network interface. In case it returns “command
not found”, install using the command sudo apt install net-tools and re-run ifconfig.
In this case, the IP address is: 172.21.63.181
It is listed under the interface eth0 next to inet, which shows the IPv4 address assigned to that
network interface.
Next, on the Ubuntu Desktop, launch the Terminal application to prepare for the SSH connection
to the server. This terminal will be used to execute all the commands needed for remote access.
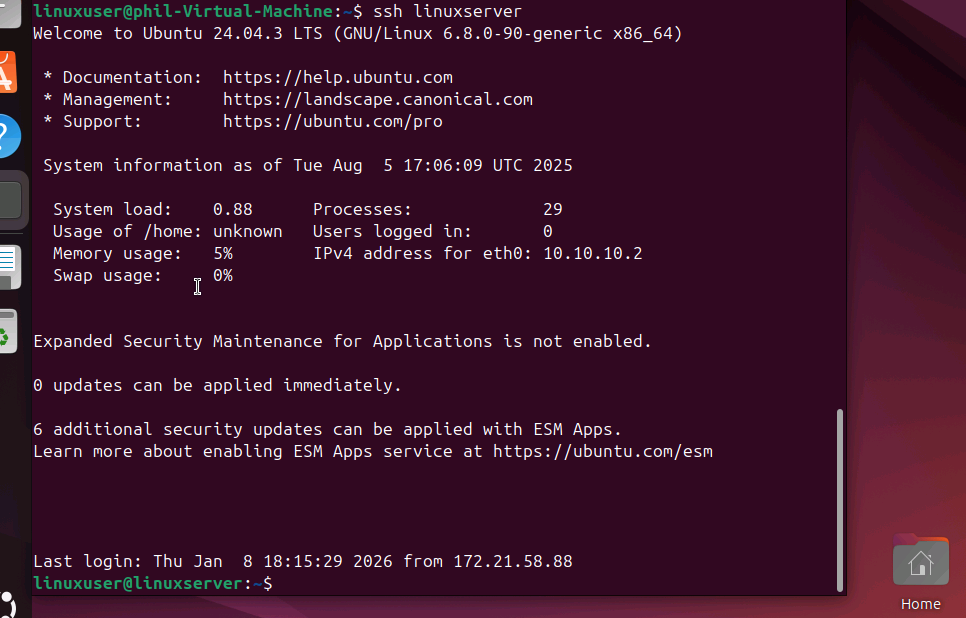
To initiate the SSH connection, type ssh linuxuser@myserver in the terminal, replacing myserver
with the server’s hostname or IP address (in this case, linuxserver or 172.21.63.181). This
command tells the desktop to connect securely to the server using the specified user account.
Enter password (Red.vine1) when prompted.
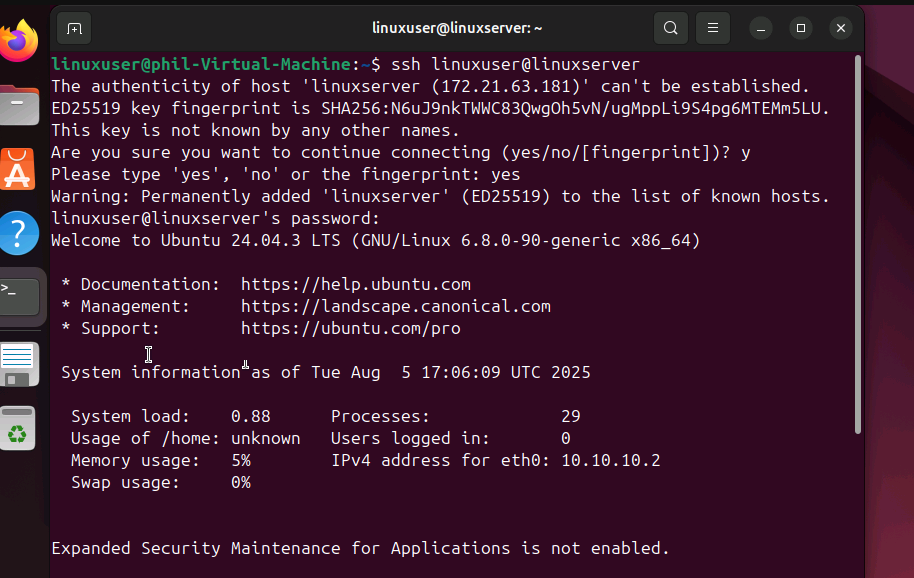
Once established, the shell prompt changes to linuxuser@servername (linuxserver).
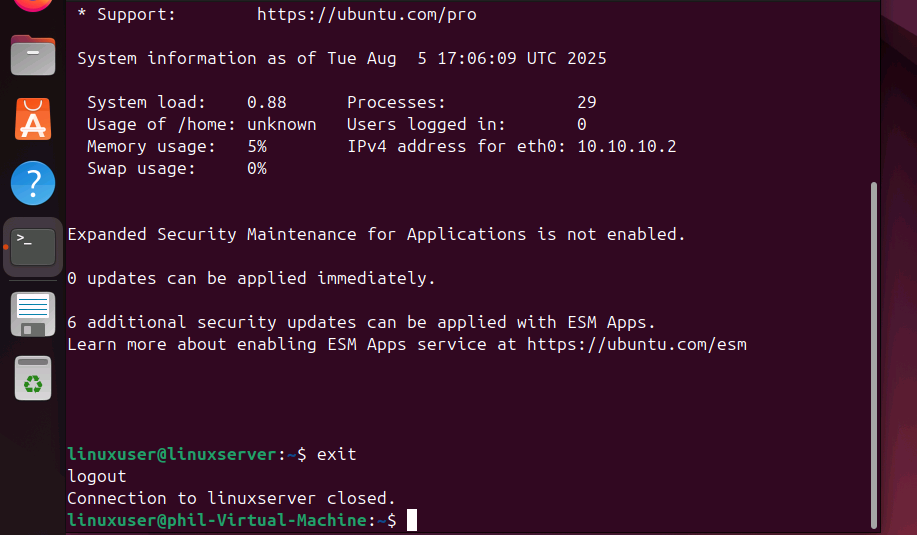
To end the SSH session, type exit and press Enter. This will safely disconnect from the server
and return you to your local terminal.
To enhance security, generate an SSH key pair by typing ssh-keygen -t rsa -b 4096 and pressing
Enter. Follow the prompts, choosing no passphrase to allow future passwordless login.

Copy the generated SSH public key to the server by running ssh-copy-id linuxuser@linuxserver.
This step allows the server to recognize the key and trust the desktop.

Test passwordless login by typing ssh myserver in the terminal. If set up correctly, it connects
directly to the server without being prompted for a password, making the SSH sessions faster and
more secure, as shown below.